
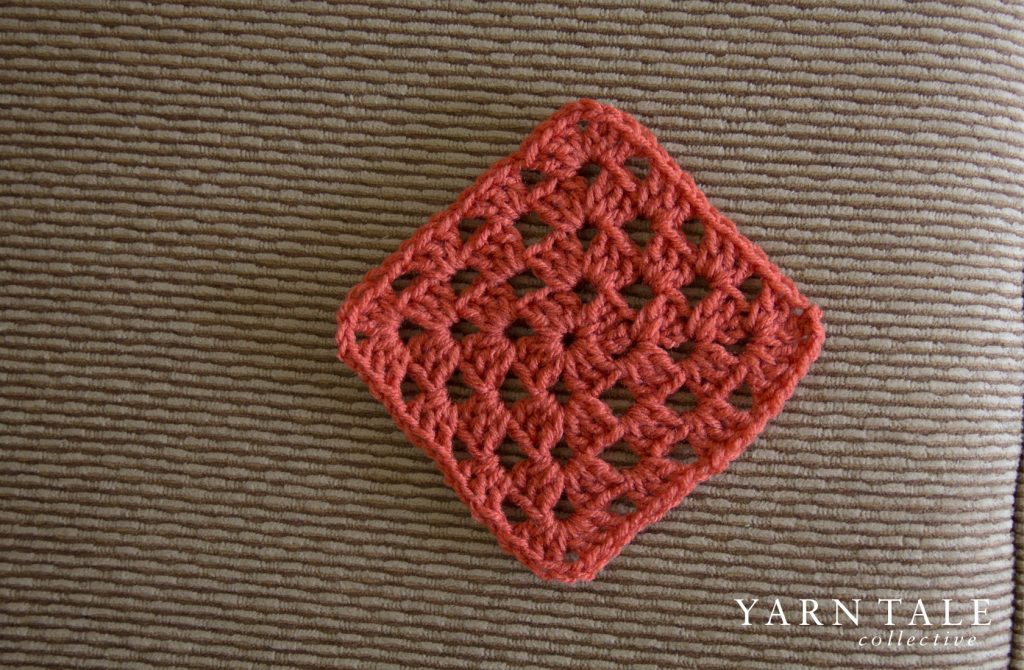
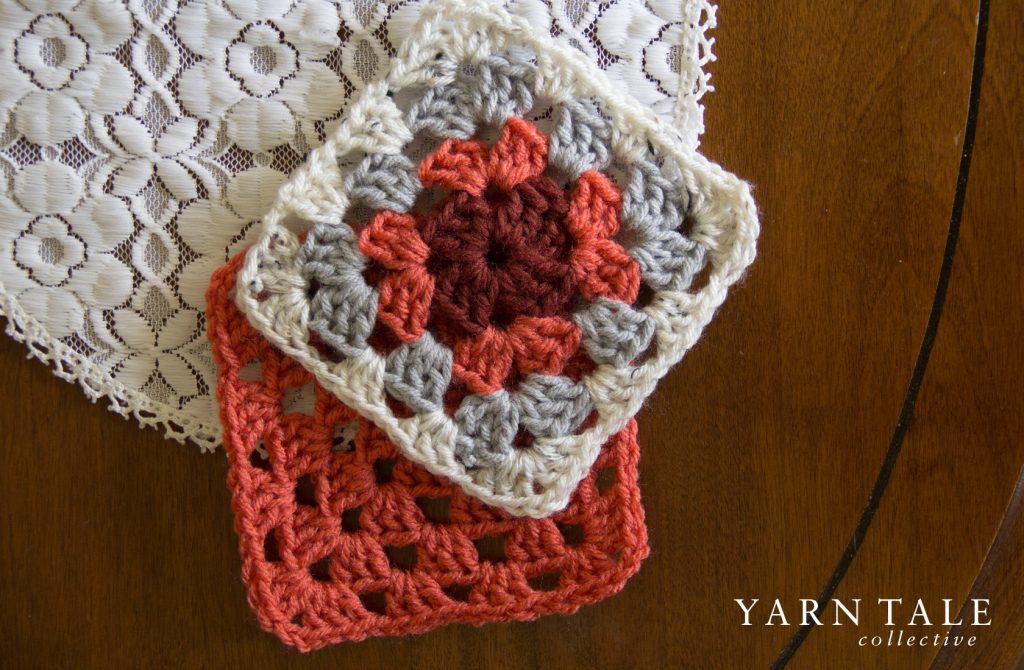
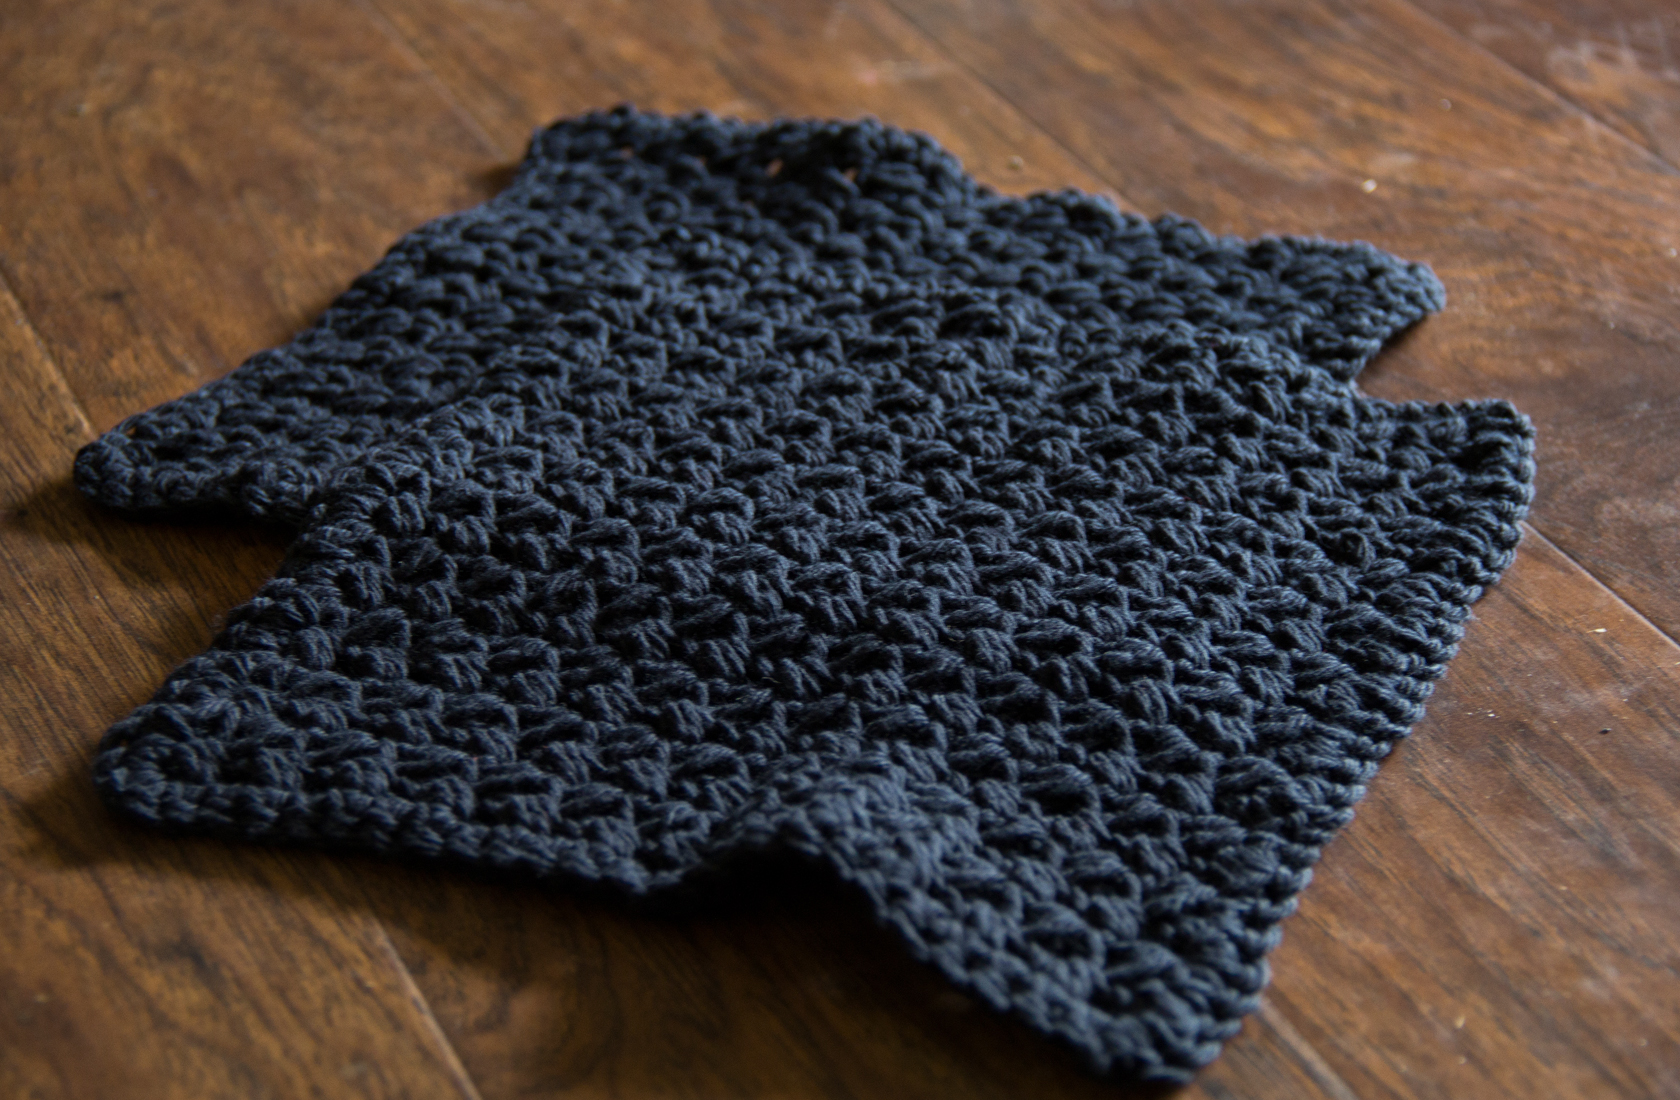
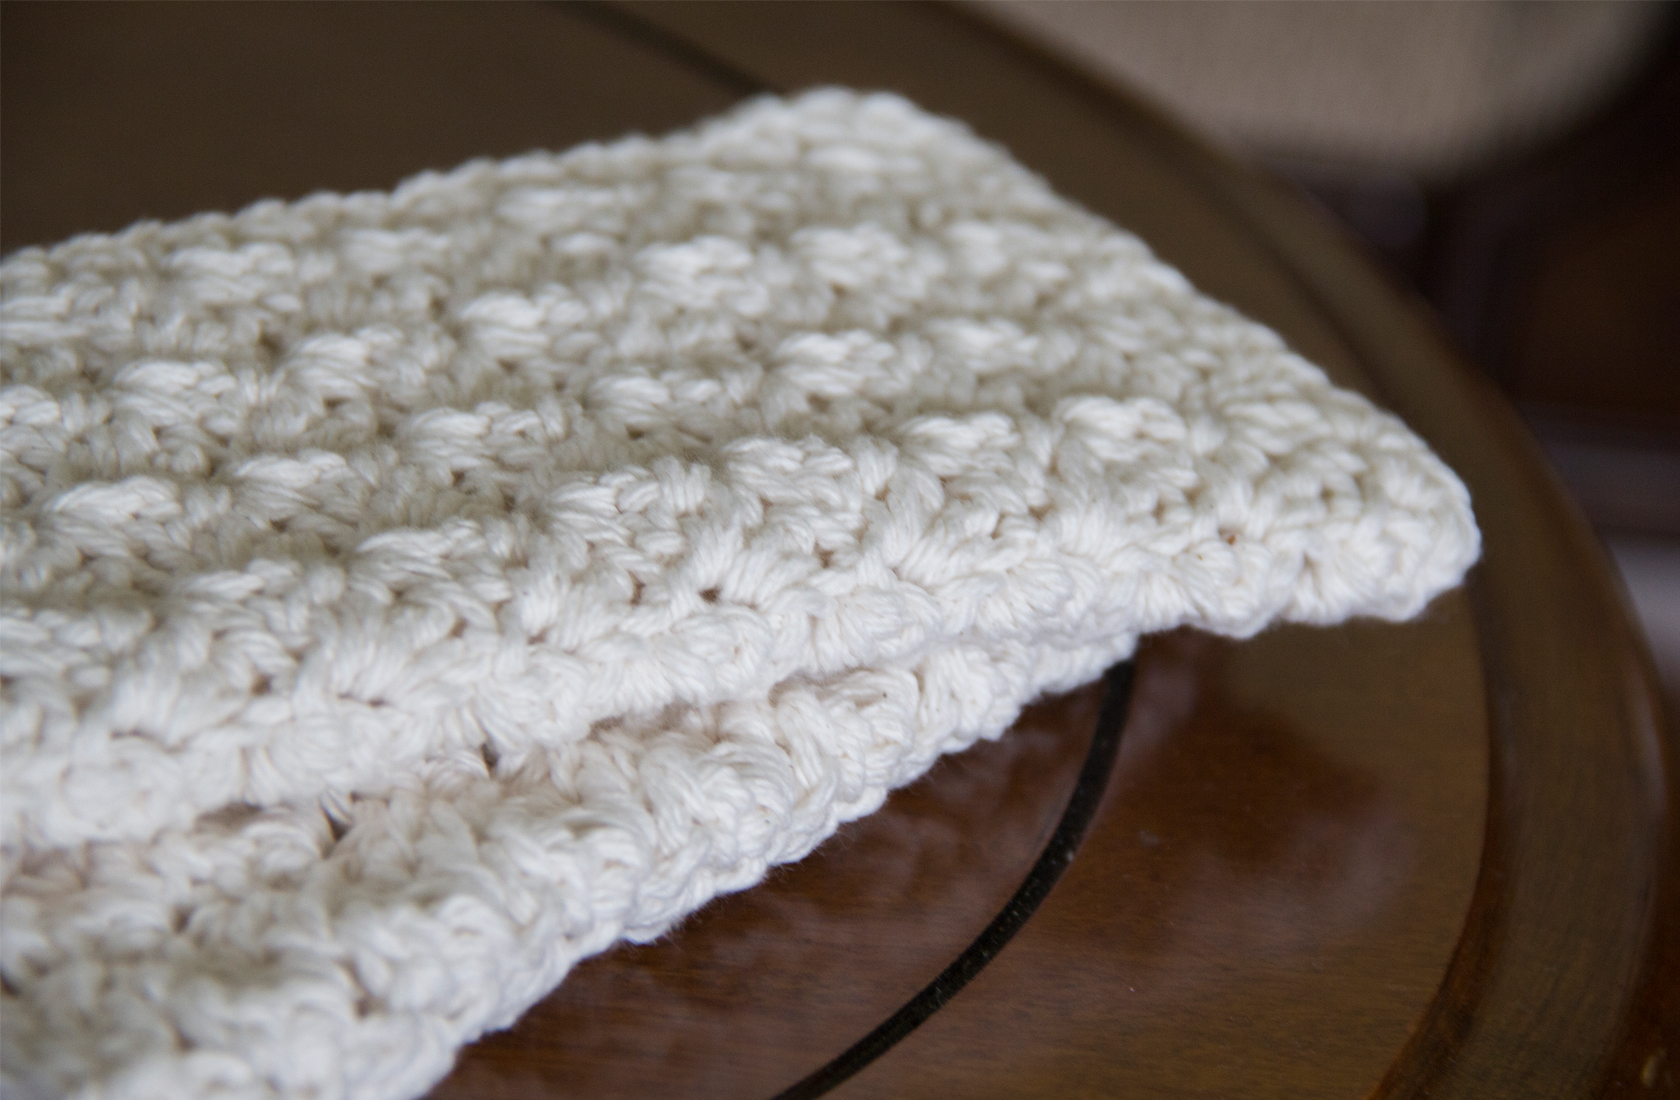
Today I have a pattern/tutorial for a basic granny square. The most basic and most commonly used granny square pattern. When you hear granny square, this is probably what you are thinking of most likely.
This granny square is super simple, easy and perfect for any beginner to try and learn. What better way to get into the granny square world than this granny square pattern and it literally takes 15 minutes to make!
A Little Granny Square History
When we look at finished projects of granny squares, we see a pattern with well thought out colors and placement right? Did you know that granny squares actually started with the purpose of using leftover yarn? That’s why when you see a super old vintage blanket, the colors might be all over the place and in no particular order. It was a way of using up scraps of yarn that you really couldn’t do anything else with! Interesting right? Check out a Brief History of Crochet over on Wool and the Gang.
What You Will Need:
• 1 or more different colors of yarn (this can be any brand or type)
• Recommended crochet hook for the yarn that you decide to use (I will be using a 5.50mm – Size I crochet hook)
• Pair of scissors
• Yarn Needle (I use a metal one, but any one will work)
Abbreviations:
• ch = chain
• st = stitch
• dc = double crochet
• st ch = stitch chain
• ss = slip stitch
• sp = space
Instructions:
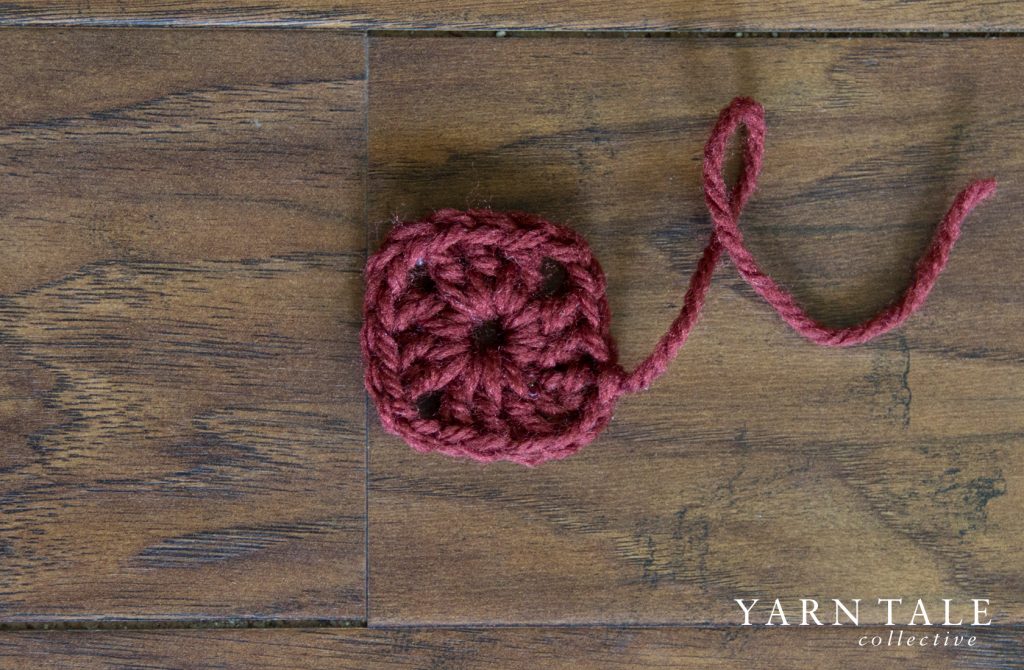
Foundation Circle
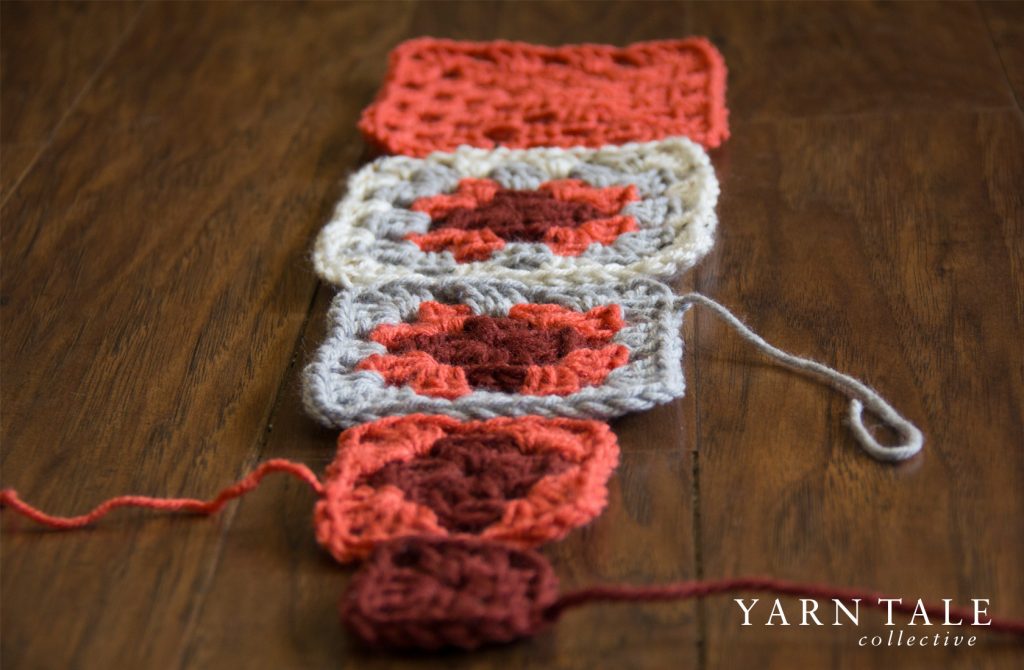
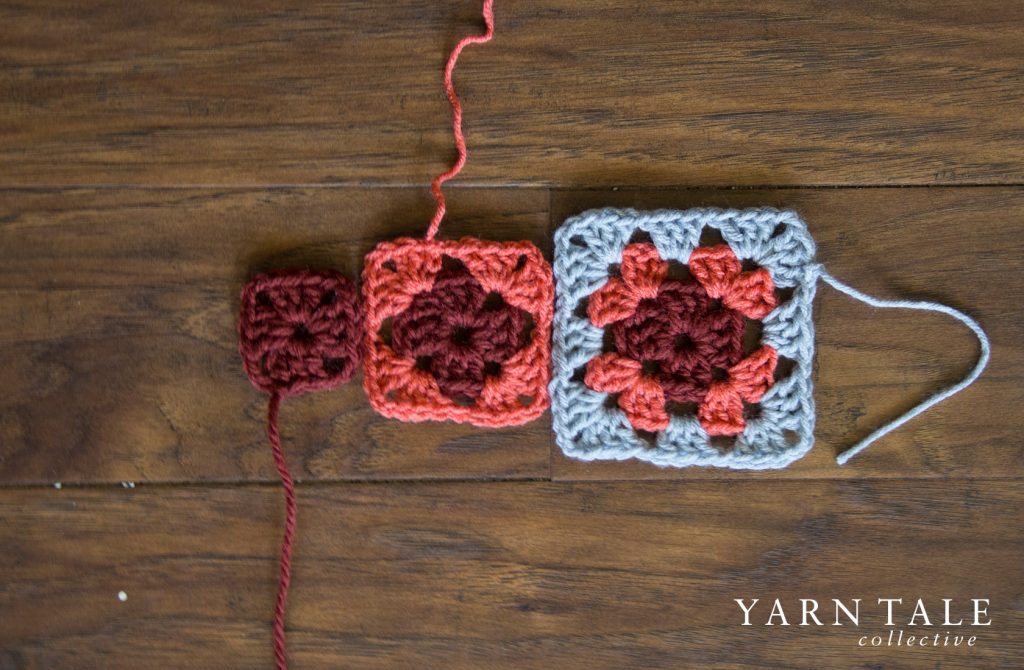
Ch 4, join with first st to make a circle. (I used a burgundy color. I’m not sure what the brand is as I was given the yarn, but this Burgundy color from Caron Simply Soft Collection is pretty close.) (4 sts total)
Round 1
Ch 3 (this is your first dc, this is also called your st ch), 2 dc, ch 2 (this will be your first corner), 3 dc, ch 2 (this will make your second corner), 3 dc, ch 2 (this is your third corner completed), 3 dc, ch 2 (this will make your final fourth corner), ss into third st of your st ch at the beginning. You have completed your first round! You should have 4 corners and 4 dc shells. (20 total sts)
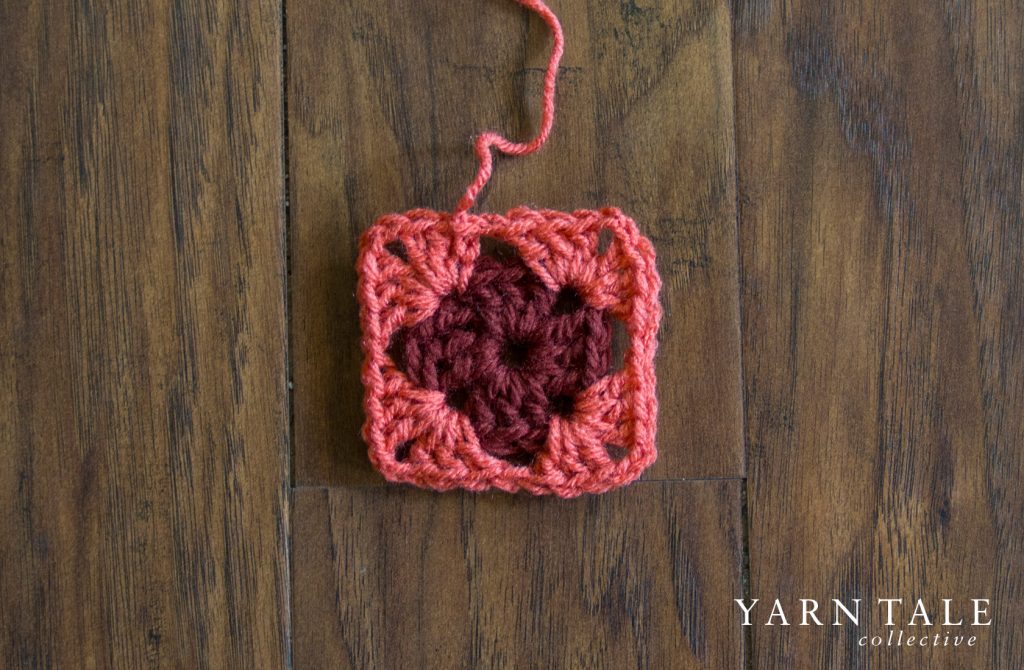
Round 2
(Change colors if you are using more than 1 color. I switched to a coral color by Red Heart)
Ch 3 (st ch, counts as your first dc), 2 dc in the ch 2 sp from the previous round. (If you are using the same color, your 2 dc will go into the ch-2 space that is behind the ch 3 that you just created.)
*ch 1, [3 dc, ch 2, 3 dc into ch 2 sp]* (this will create your first corner), repeat from *to* two times to create the second and third corners. Ch 1, 3 dc in the same ch 2 sp that we started with. Ch 2. Ss into 3rd st of st ch. You have completed your second round! You should have 4 corners and 8 dc shells. (36 total sts)
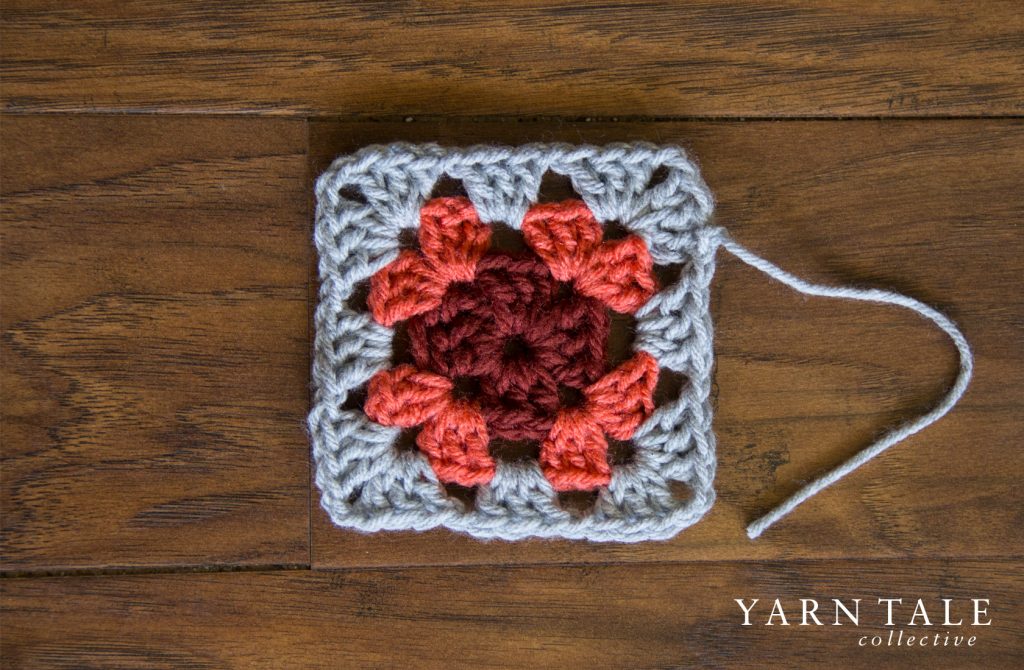
Round 3
(Change colors if you are using more than 1 color. I switched to Light Gray.)
Ch 3 (st ch, counts as your first dc), 2 dc in the ch 2 sp from the previous round, *ch 1, 3 dc into the ch 1 sp from previous round, ch 1, [3 dc, ch 2, 3 dc] into ch 2 sp of previous round.* Repeat from *to* two times. Ch 1, 3 dc into the same ch 2 sp you started the round in. Ch 2 and join with a ss to the 3rd st of the starting st ch. You have completed the third round! You should have 4 corners and 12 dc shells. (52 sts total)
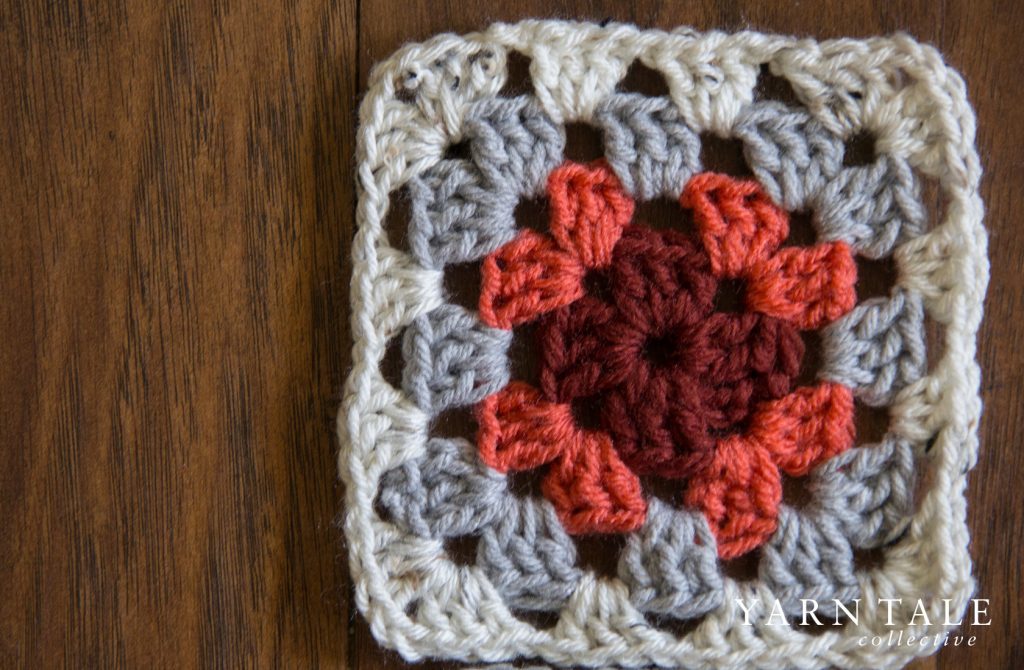
Round 4
(Change colors if you are using more than 1 color. I switched to Ivory Tweed from Caron Simply Soft: Tweeds.)
Ch 3 (st ch, counts as your first dc), 2 dc in the ch 2 sp from the previous round, *ch 1, 3 dc into the ch 1 sp from previous round, ch 1, 3 dc into the second ch 1 sp from the previous round, ch 1, [3 dc, ch 2, 3 dc] into ch 2 sp of previous round to make your first corner.* Repeat from *to* two times. Ch 1, 3 dc into the same ch 2 sp you started the round in. Ch 2 and joing with a ss to the 3rd st of the starting st ch. You have completed the fourth and final round! You should have 4 corners and 16 dc shells. Tie off and weave in any loose ends. (68 sts total)
Want more rounds?
Round 5 and up are all made the exact same way as round 4, but you will add an extra dc shell onto all sides of the square. (For round 5, you should have 20 dc shells, for round 6, you will have 24 dc shells and so forth).

No Comments